
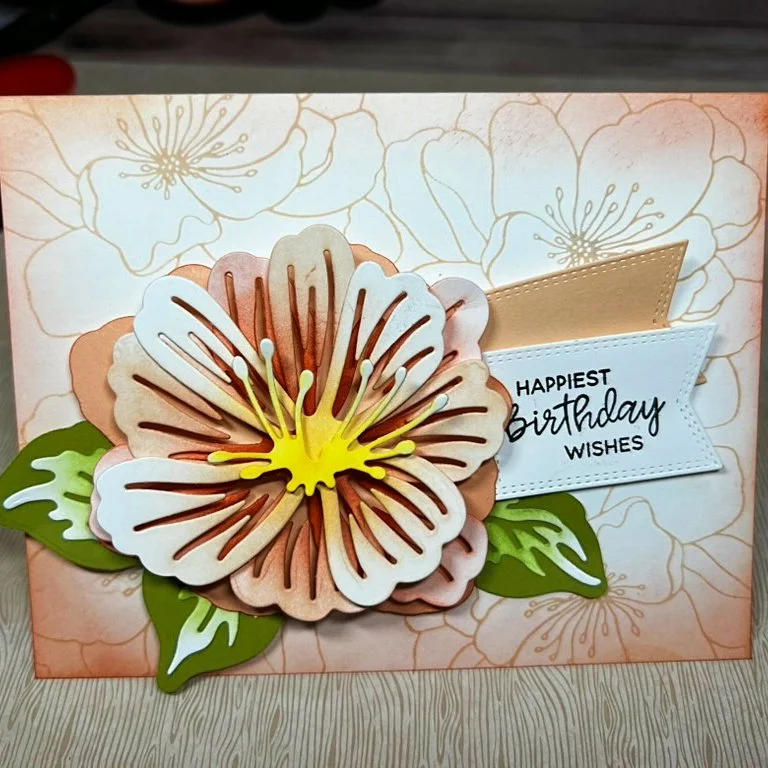
Simply Beautiful…a Flower that POPS!
The Simply Beautiful bundle from Stampin’ Up! is full of potential. This week I hardly touched the stamps (which I can’t wait to play with) and focused on using the lovely, layering dies.
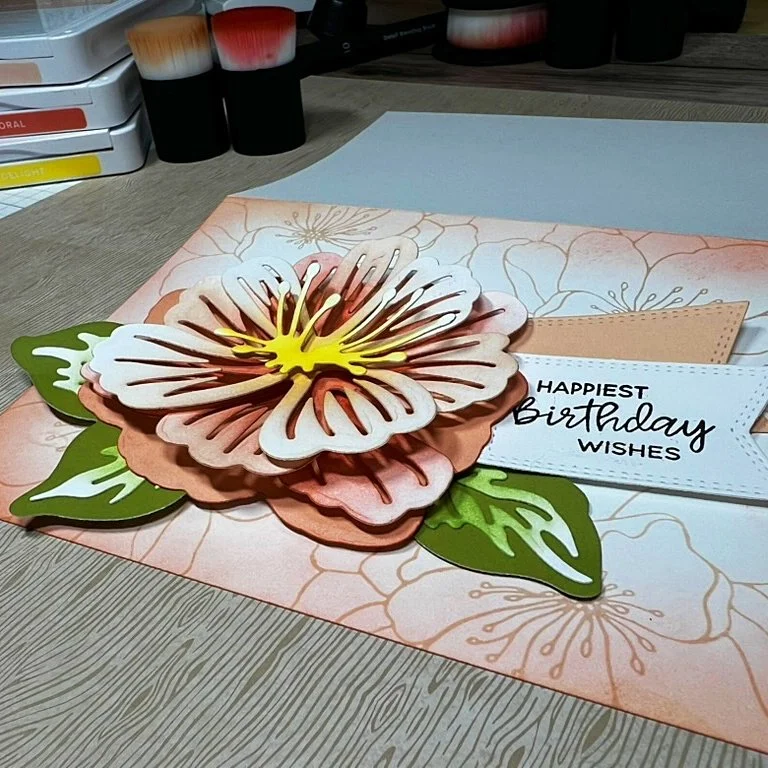
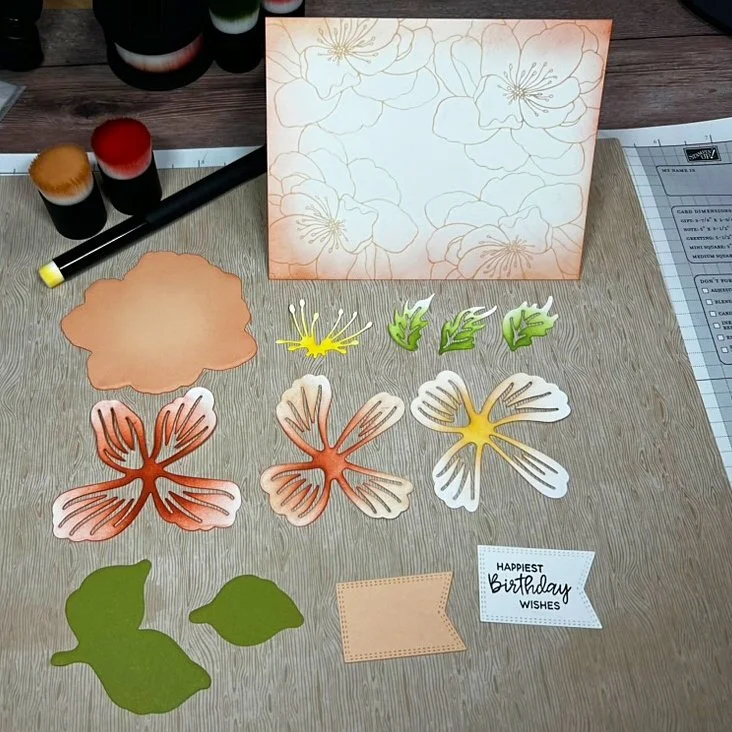
Multiple layer, popped-up flower with custom background.
This blog post is going to be a bit longer than usual because I’m providing a picture tutorial (step-by-step) on how to create this card.
I also posted a YouTube tutorial, showing how to make this card.
I also have a downloadable PDF for this project at the end of the blog.
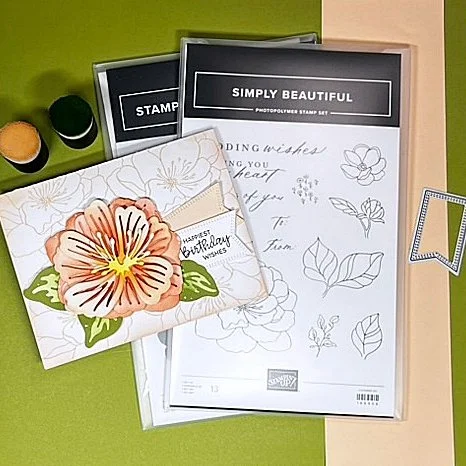
For this project, gather the following supplies:
Simply Beautiful Stamp Set and Dies
Nested Essentials Dies
Sentiment of your choice (I used one from the Branching Out Stamp Set)
White Card Stock
Petal Pink Two-Tone Card Stock
Old Olive Two-Tone Card Stock
Ink Pads: Petal Pink, Calypso Coral, Daffodil Delight, Old Olive, Black, Cajun Craze (optional)
Ink Blending Tools of your choice
Adhesives of your choice (I used lots of dimensionals and liquid glue)
A “masking” tape or post-it notes to protect the back of card during stamping and ink blending
Prep the A2 Size Card Base. Start with a piece of 5.5” x 8.5” white cardstock. Score at 4.25” along the 8.5” side, for a landcape card.
Don’t fold the card yet.
Place a piece of low-tack tape, masking tape, or Post-It™ notes along the score line on the back panel of the card. This will protect the back of the card from ink during the next few steps.
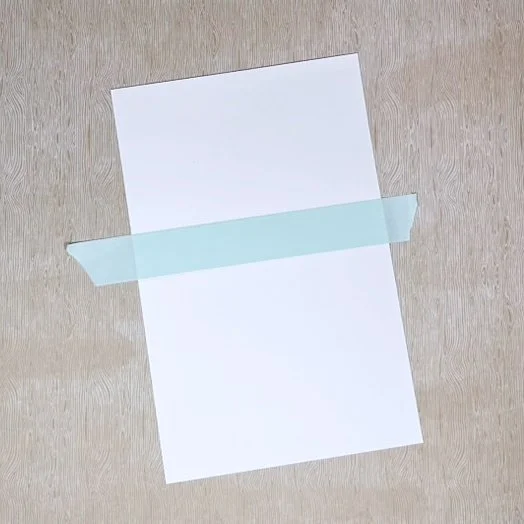
Mask the back of the card, just along the scoreline.
Using the largest flower stamp from the Simply Beautiful set, and Petal Pink ink, stamp the flower “randomly”, or four times directly on the front panel of the card base. Make sure to position the stamp so the image runs off the edges of the card panel. Turn the stamp each time to add interest.
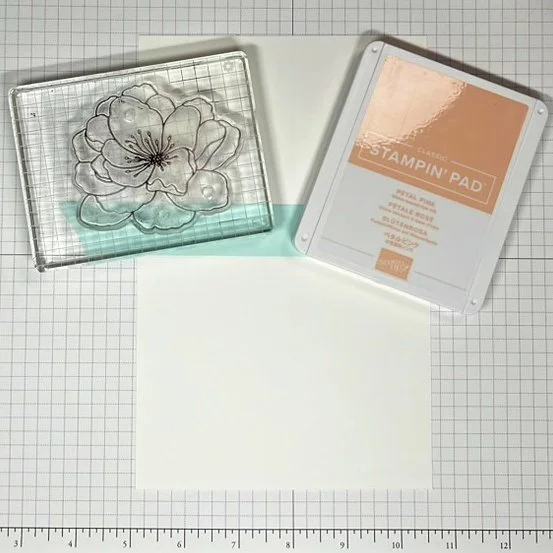
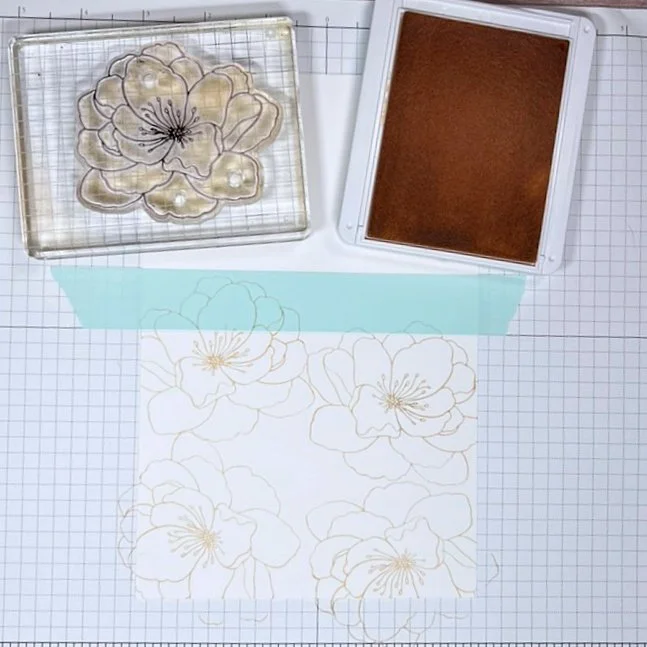
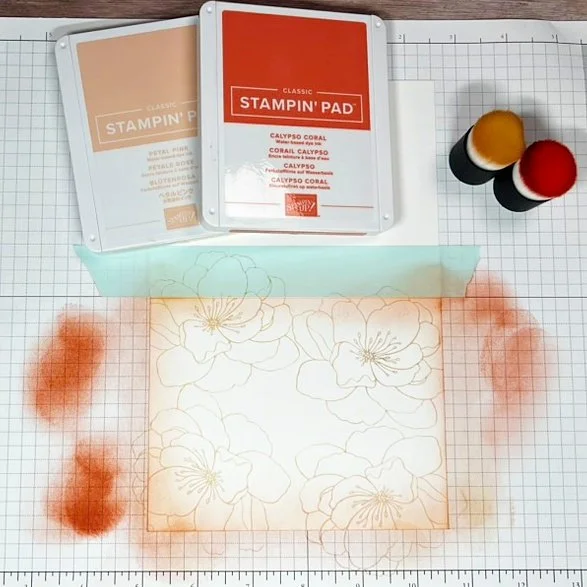
Blend Petal Pink ink then Calypso Coral ink around all four edges of the card.
Remove the masking tape.
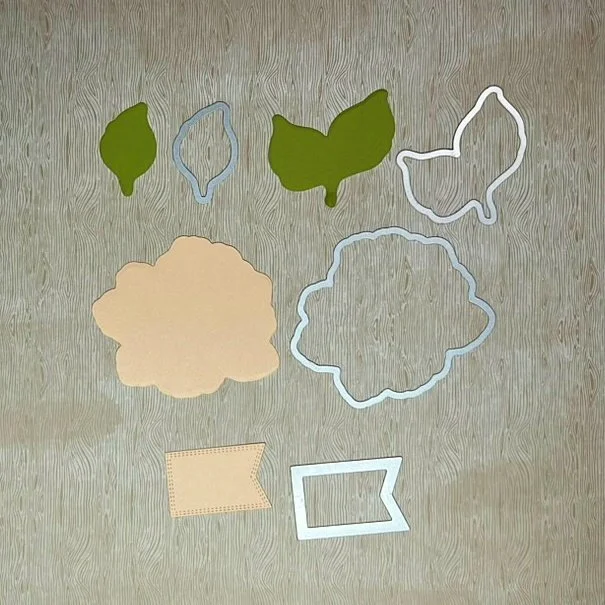
Die cut the flower parts, leaves, and banners for the sentiment.
Out of two-tone Petal Pink card stock (dark side) die cut the following:
Large flower “backer” or the die that would cut the stamped large flower.
Second to smallest banner for the sentiment cluster
Out of two-tone Old Olive card stock (dark side) die cut the two leaf “backers” or the dies that would cut the stamped leaf images.
Out of white cardstock, cut the following:
One large flower petals
Two of the flower petals that are the next size down from the largest
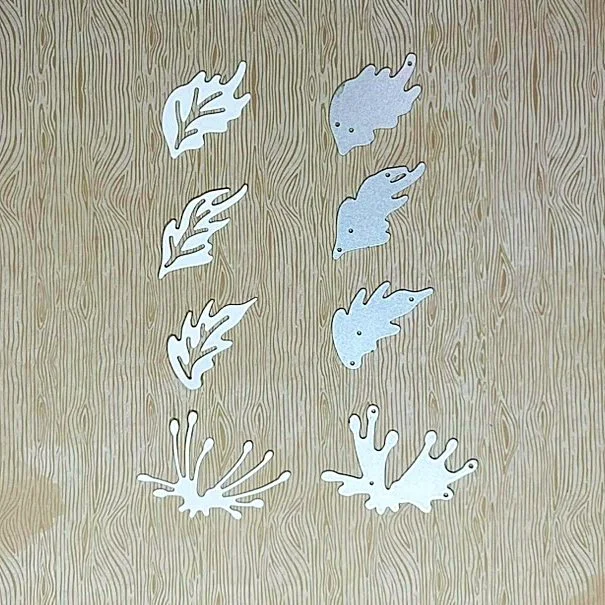
All three of the leaf details
The largest stamen
The second to smallest banner for the sentiment

On the large Petal Pink flower backer, ink blend Calypso Coral around the edge.
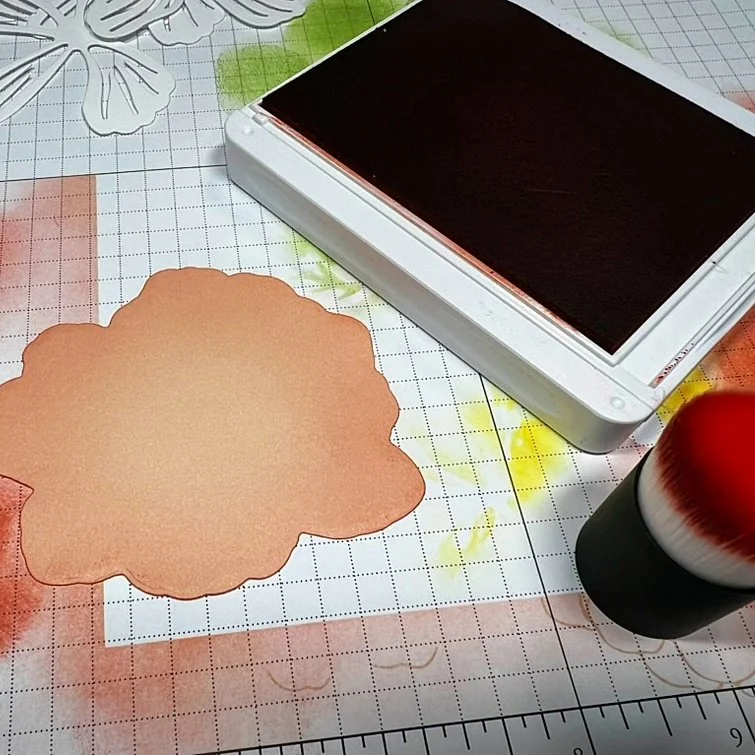
Use Calypso Coral to lightly ink blend around the die cut piece.
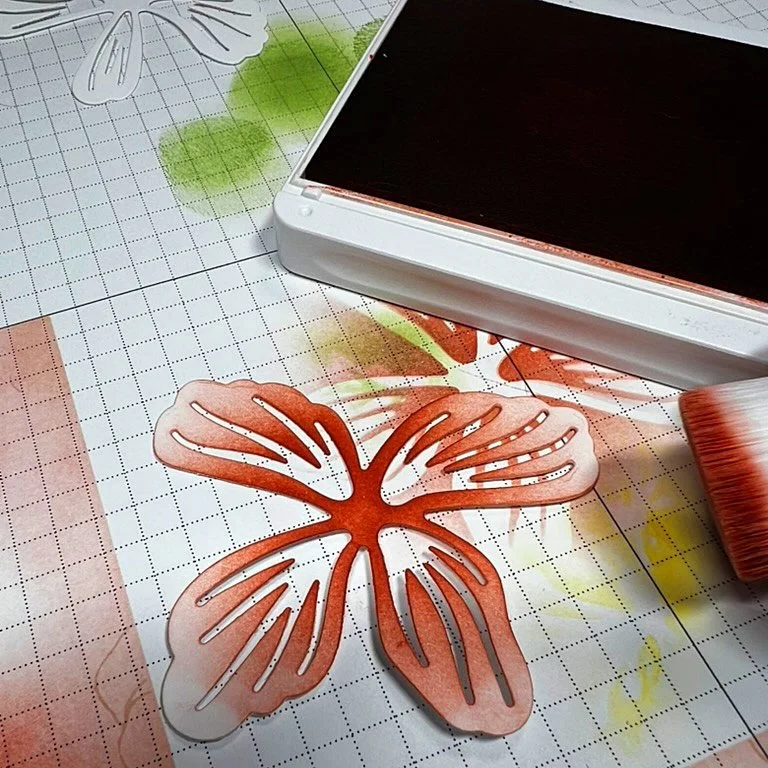
On the largest flower petals, starting in the middle of the flower, ink blend Calypso Coral ink out toward the tips. Continue adding more ink to darken the shade, making it as dark as you want and leaving the tips as light or white as you want.

Continue blending each layer of the flower with Petal Pink and Calypso Coral on the center layer and Petal Pink on the top layer. Add a touch of Daffodil Delight ink to the center of the top layer.
Ink blend Daffodil Delight on the stamen, keeping the bottom portion the darkest and tips of the stamen lightest or white.
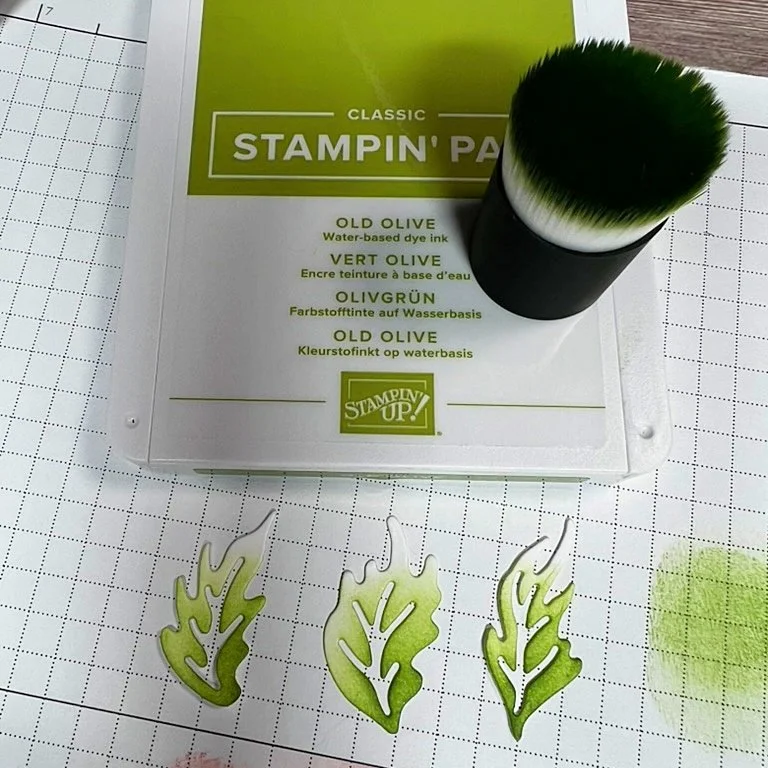
Ink blend Old Olive on the leaf details, keeping one end lighter than the other. The white or lighter end will act as a highlight.
With black ink, stamp the sentiment on the white banner die cut.

Glue the leaf details to the leaf backers. It may be helpful to use a reverse tweezer and glue bottle with a fine nozzle.
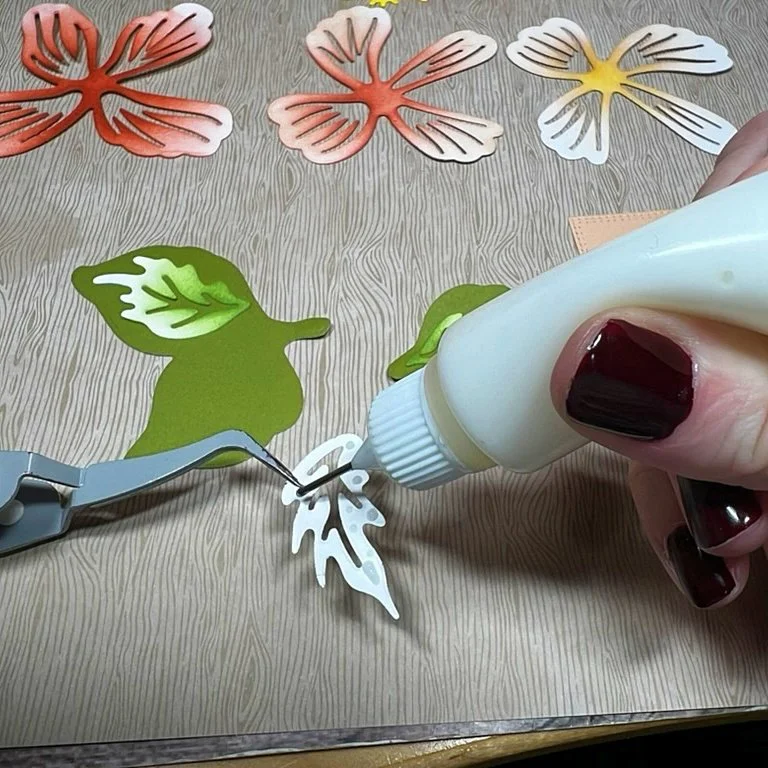
A reverse tweezer and glue with fine tip is helpful.
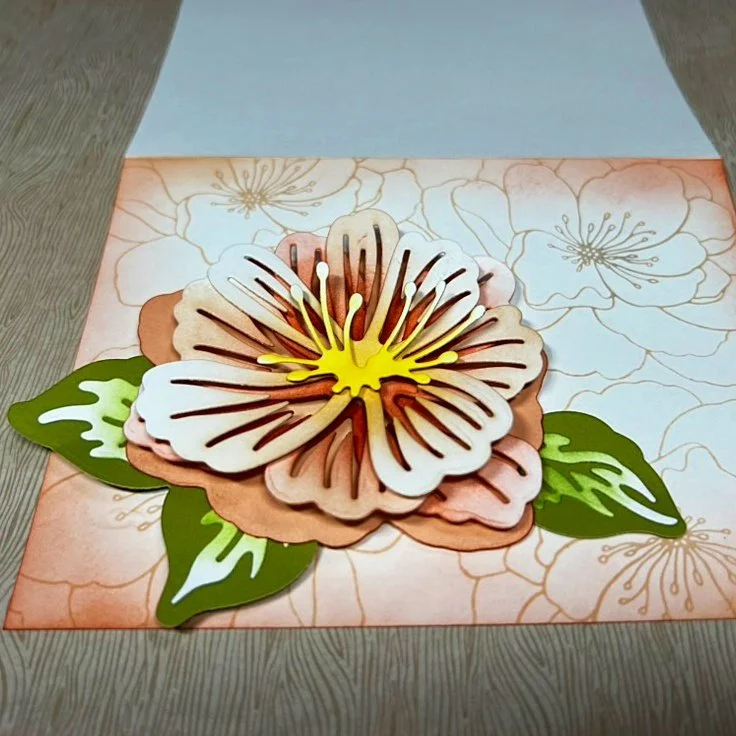
Using dimensionals and/or liquid glue, adhere the Petal Pink flower “backer” in the lower left portion of the card front. You may wish to adhere all layers directly to each other so the card is more “flat”. I used three dimensionals to adhere this layer to the card front.
Using glue and mini-dimensionals, adhere the leaf die cuts under the edges of the flower backer. They should easily tuck under if the backer layer is popped up on dimensionals.
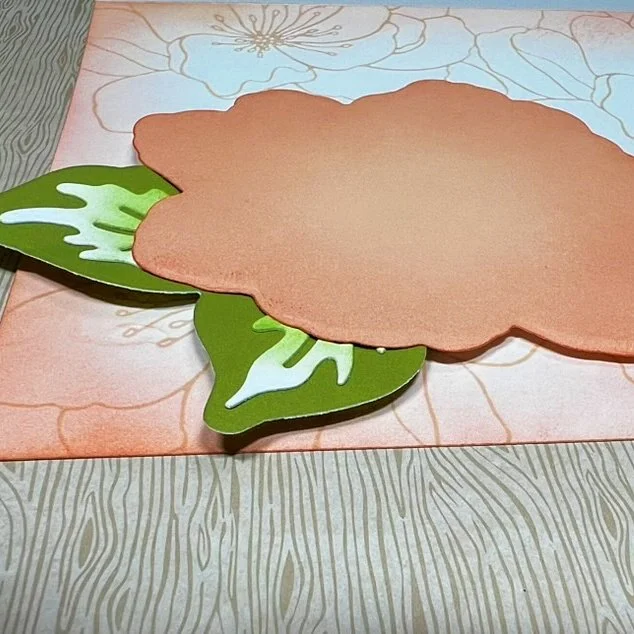
Use dimensionals to add “lift” to the pieces.
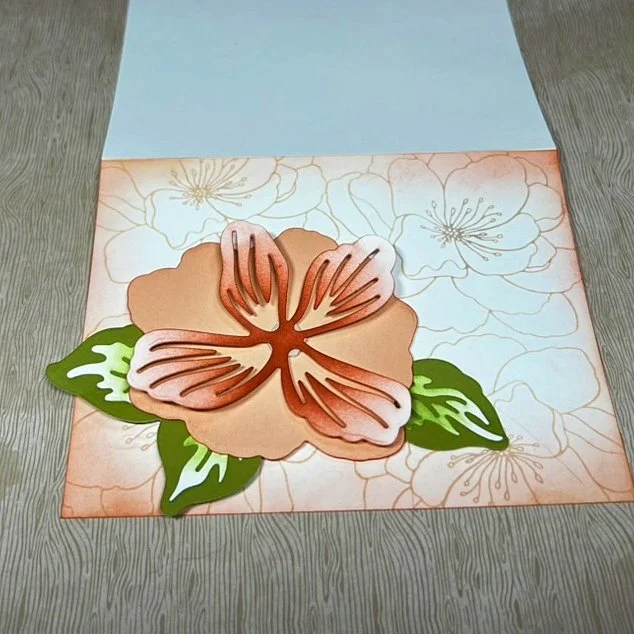
Using one dimensional or mini-dimensional behind each, adhere the three flower petal layers.
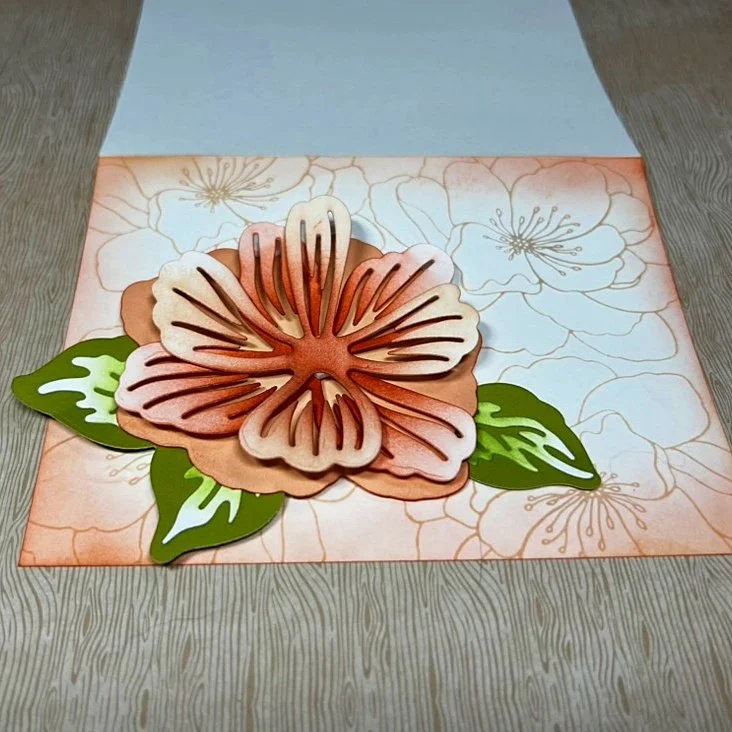
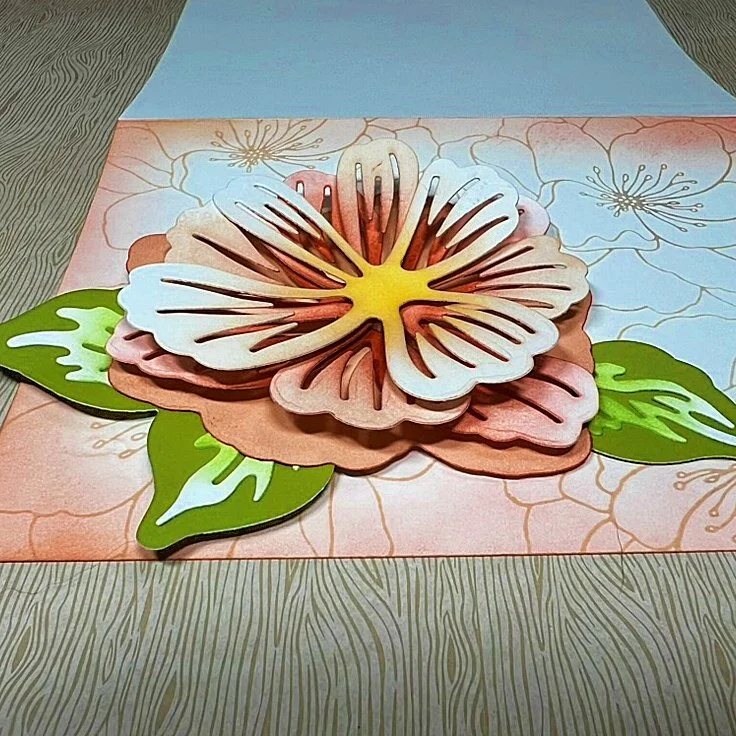
Using liquid glue or a mini-dimensional cut in half, adhere the stamen to the center of the flower.
Using liquid glue and mini-dimensionals, adhere the seniment banners to the right of the flower, partially tucked under the right side of the flower backer.

This card is easier than it looks.
And the possibilities are endless when it comes to colors!
I could also see this used on a scrapbook page, combined with more of the large and smaller die cut flowers. It’s just so pretty!
Shop for these products HERE
Thanks for being here! I hope you have a great rest of your day!
Leah

Click image above to download PDF card sketch and project sheet.